Rich Text Editor Buttons
Button menu
The Button menu on the Content blocks let you format your text and insert links, images, and other media.

The first button on the menu is the button with a B icon. This is the Bold button. This makes the selected text bold.
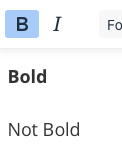
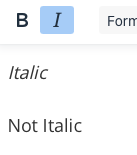
The second button the menu with the I icon is the Italic button. This makes the selected text Italicized.
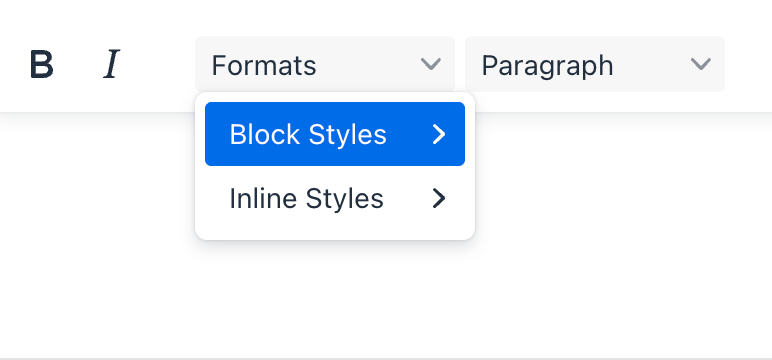
The next button is the Format button. By default there are no formats. They are site specific and the developer for that site would have set them up. They make it easier to apply predefined styles to a block of text, like a paragraph, or to some text you've selected. There could be two options depending on the site. Inline Styles or Block Styles. Inline applies the selected style to whatever text you select while Block applies to the entire block. An example of a block is a paragraph or a table.
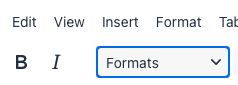
After you click on "Formats", a dropdown will pop up with two options. "Block Styles" and "Inline Styles".
The "Blocks" styles apply to block elements like paragraphs or unordered lists.The "Inline" styles apply to inline elements and typically when you just select some text.
The options under "Block Styles" and "Inline Styles" vary depending on the website.
The next button is the "Paragraph" button. This allows you to choose the type of text you want.
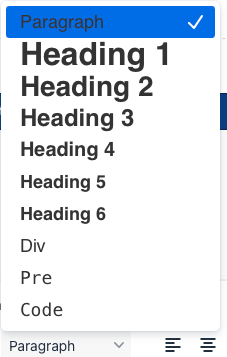
A p (paragraph) tag makes the content look like a paragraph, typically with a margin on the top or bottom for spacing.
A div tag has no margin and in the case of the editor they are sometimes used when there should be no spacing around content. An example is when embedding some content from another part of the website using an API tag. It's rare to use this option.
A pre tag treats the content as "preformatted" text and often outputs the text as monospaced. It's not commonly used.
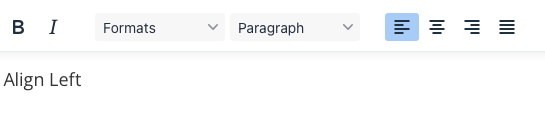
The next options are to align your text to the left, center, right, or to justify.
Aligning left or right will move the text all the way to the left or right. Centering it will have it aligned in the center.
Justifying your selected text will align it evenly along both the left and right margins by adjusting the spacing between words. This produces a clean, block-like appearance often used for formal documents.



Next to the justify button, there is a dropdown option for bullet points. There are four options for types of bullet points. At the bottom is a picture of the button location and dropdown.
- Default. This starts out as discs
- When you click return/enter and then tab, the next row will be indented and look like the Circle option.
- Repeating the return/enter and then tab option will have another row indented under the second one with Square bullets.
- All following indents will look like this unless you press enter, which will do the same thing as clicking return/enter and then tab in reverse.
- Return/Enter
- Repeating the return/enter and then tab option will have another row indented under the second one with Square bullets.
- Return/Enter
- When you click return/enter and then tab, the next row will be indented and look like the Circle option.
- Return/Enter
Return/Enter
- Disc. It looks like the Default option, but...
- When you click return/enter and then tab, all of the following indented rows will remain the same.
- Circle. It looks like a hollowed out Disc bullet.
- Like the Disk option, the indented rows remain the same.
- Square. It is a filled in square bullet.
- Like the Disk and Circle options, the indented rows remain the same

The next button is Numbered Lists. There are six options for types of numbered lists. At the bottom is a picture of the button location and dropdown.
- Numbered. This starts out as numbers
- When you click return/enter and then tab, the next row will be indented and have the same number.
- Repeating the return/enter and then tab option will have another row indented under the second one with Square bullets.
- All following indents will look like this unless you press enter, which will do the same thing as clicking return/enter and then tab in reverses
- Repeating the return/enter and then tab option will have another row indented under the second one with Square bullets.
- When you click return/enter and then tab, the next row will be indented and have the same number.
- Lowercase letters.
- Continuing the list will go down the alphabet.
- When you click return/enter and then tab, it will restart the alphabet.
- Lowercase Greek letters.
- Like the lowercase letters list, continuing the list will go through the lowercase Greek alphabet.
- Indented rows will restart the alphabet.
- Lowercase Roman numerals.
- Continuing the list will go through to lowercase Roman numerals.
- The indented rows will restart the lowercase numerals.
- Uppercase letters.
- Continuing the list will go through the uppercase alphabet.
- Indented rows will restart the uppercase alphabet.
- Uppercase Roman numerals.
- Continuing this list will go through the uppercase roman numerals.
- The indented rows will restart the uppercase numerals.

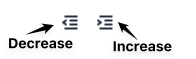
The next two buttons are the "Decrease Indent" and "Increase Indent" buttons. These will either increase or decrease the indent at the beginning of your text.
The next button is "Block Quotes". Block Quotes are a way to show a quote that is indented on either the left, right, or both.

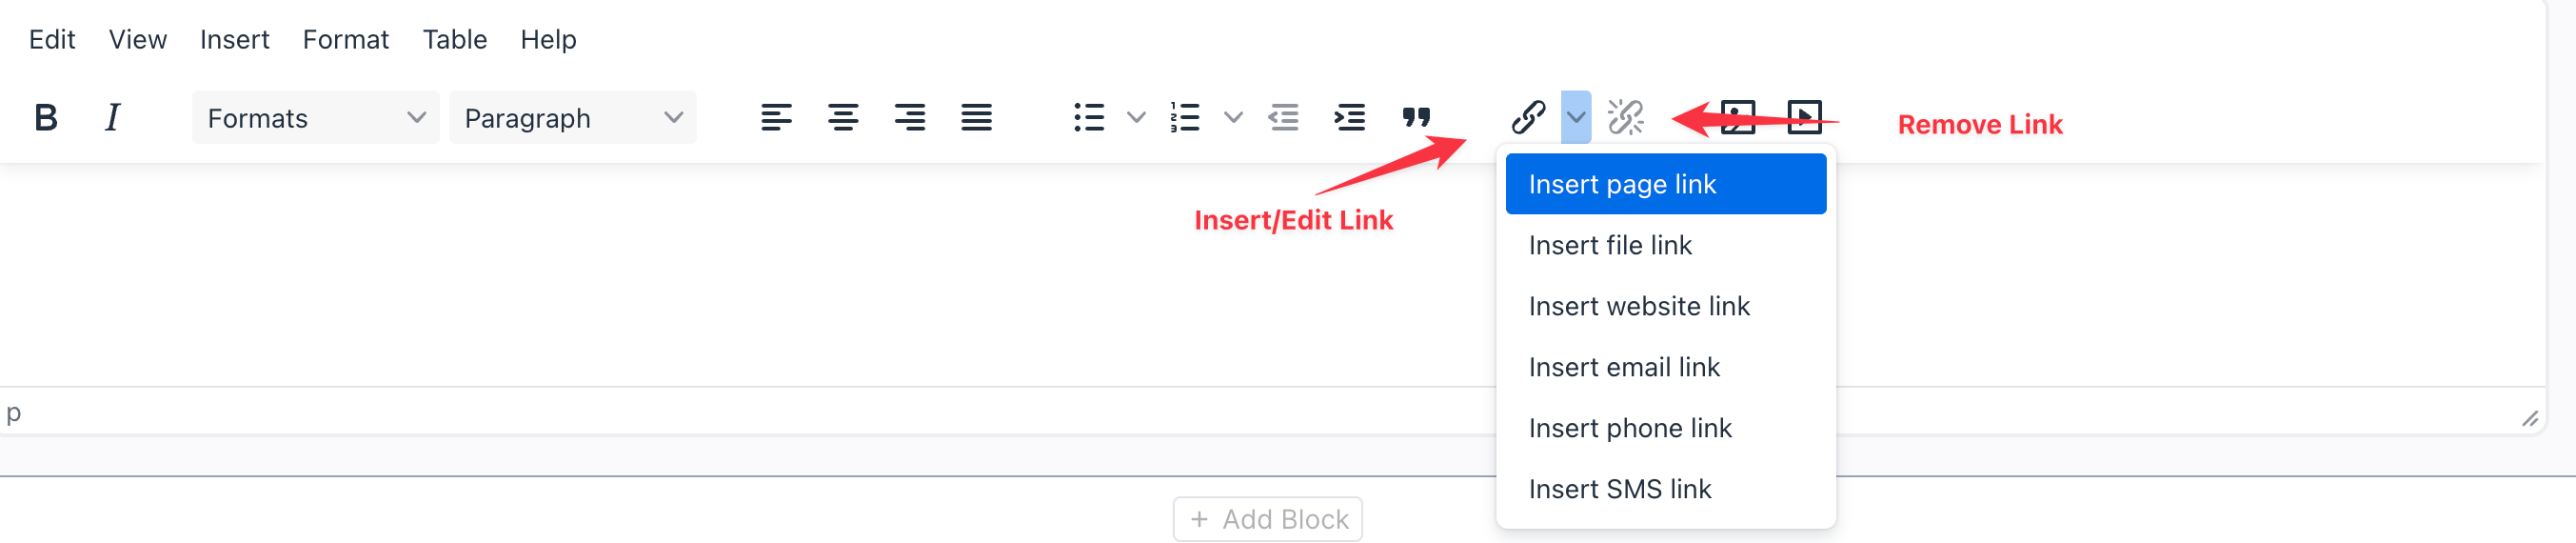
The next two buttons are adding and removing links. The "Insert/Edit Link" button has a dropdown with options. Clicking the "Remove Link" button will remove the link off of the selected text. This button is only available when text with a link is highlighted. Below is a link to a pages that will thoroughly explain each option in the link dropdown.
The next button is "Insert/Edit Image". Below is a link to a page that explains this button and all its features.
The last button is "Add Media". Below is a link to a page that explains this button and all its features.